
Updated: July 19th, 2026 for FolioBlocks Version 1.4 running on WordPress 7.0 or higher
Note: This article focuses on the Professional (Pro) version of FolioBlocks. Some of the features described here may not be available in the free version.
Sometimes a standard image simply isn’t enough.
Whether you’re showcasing the fine details of a photograph, highlighting the craftsmanship of a product, demonstrating image quality, or allowing visitors to inspect artwork up close, there are times when your audience needs a closer look.
That’s where the Loupe Block comes in.
The Loupe Block allows visitors to move their cursor over an image and inspect magnified details in real time. It’s an intuitive and engaging way to explore photographs, products, artwork, textures, and other visual content directly within the WordPress Block Editor.
In this tutorial, we’ll show you how to create an interactive zoom experience using the FolioBlocks Loupe Block.
Table of Contents
What Is a Loupe Block?
A loupe is a magnifying tool traditionally used by photographers, jewelers, artists, and printers to inspect fine details.
The FolioBlocks Loupe Block recreates that experience on your website by allowing visitors to hover over an image and see a magnified view of the area beneath their cursor.
Unlike opening an image in a Lightbox, the Loupe Block keeps visitors focused on the page while providing instant access to image details.
Why Use the Loupe Block?
The Loupe Block is ideal for situations where image detail matters.
Common use cases include:
- Photography portfolios
- Fine art reproductions
- Product photography
- Print sales
- Jewelry and watches
- Textures and materials
- Historical photographs
- Wildlife photography
- Architecture photography
It allows visitors to inspect details that might otherwise be missed in a standard image presentation.
Add the Loupe Block
Open the page or post where you’d like to add the loupe effect.
Click the Add Block (+) button and search for Loupe Block.
Insert the block into your page.
A media placeholder will appear, allowing you to upload or select an image from your Media Library.
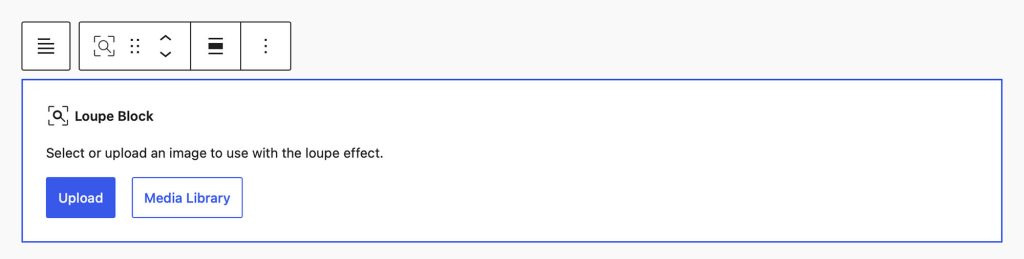
Select an Image
Choose the image you want visitors to explore.
For best results, use a high-resolution image with plenty of visible detail.
Images with intricate textures, sharp focus, or fine craftsmanship tend to work particularly well with the loupe effect.
Once selected, the image will appear directly in the editor.
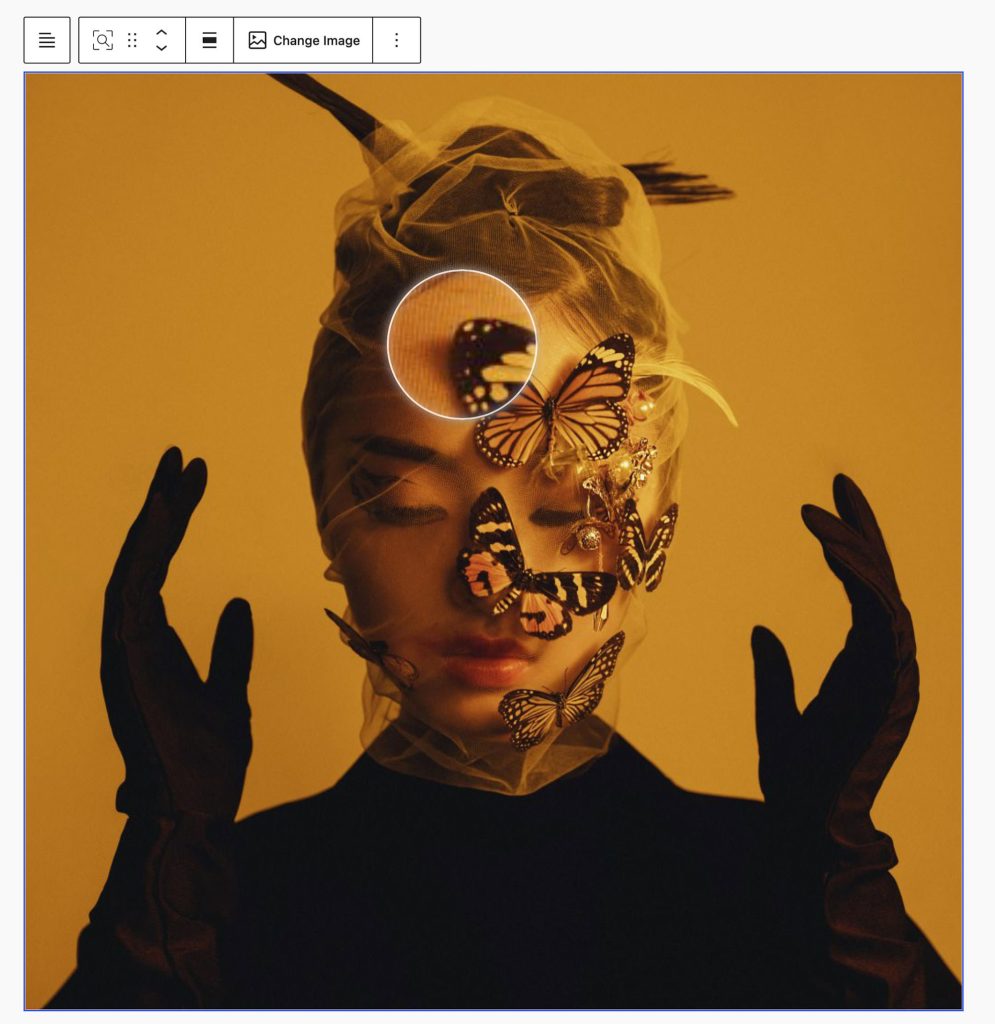
Block Toolbar
The block toolbar gives you access to alignment controls and a button to change the image used in the Loupe Block.
Loupe Block Settings
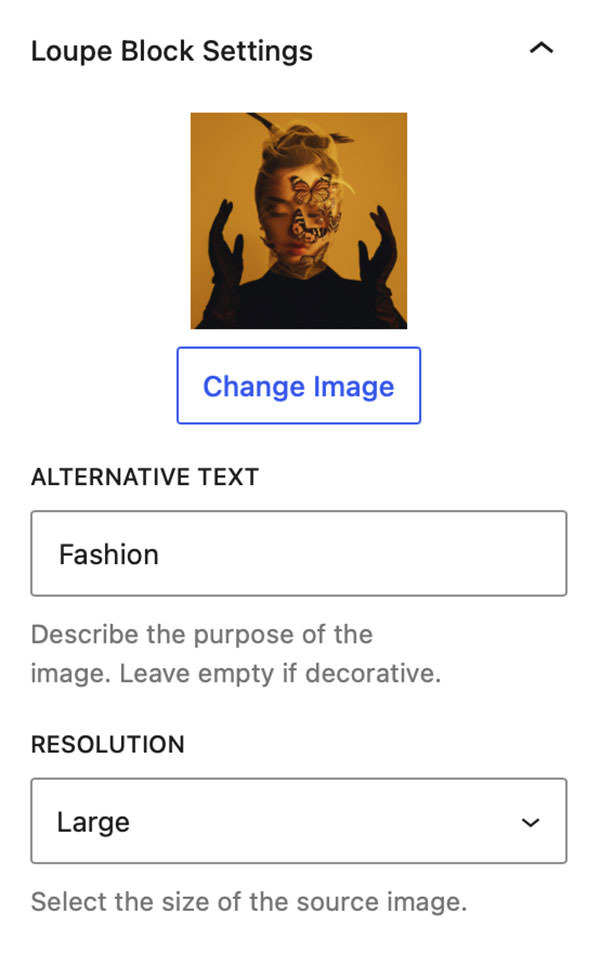
In the Loupe Block Settings panel you will first see a thumbnail image of your selected image with an option to Change Image.
There is then a setting to edit the Alternative Text used in the Loupe Block.
Finally an option to set the Resolution of the Image used in the Loupe Block.
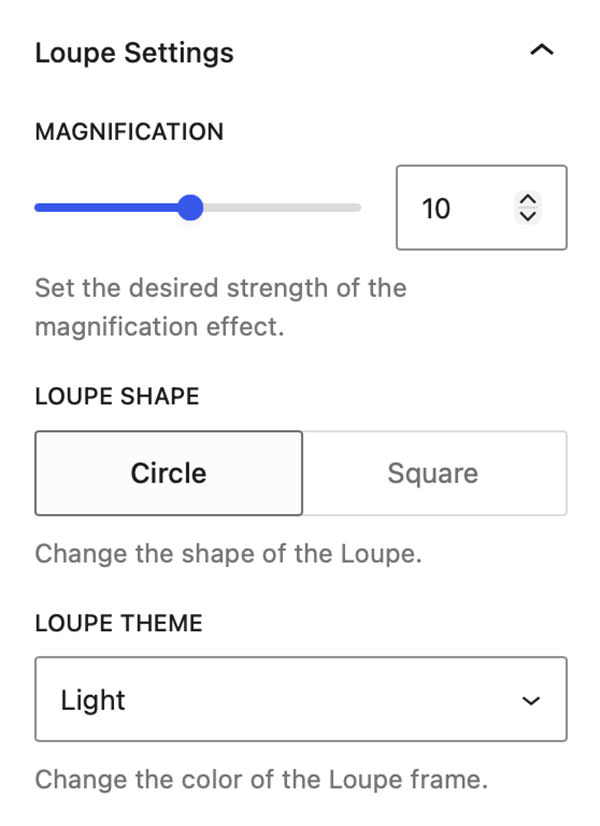
Loupe Settings
The Loupe Settings panel allows you to customize the appearance and settings of the Loupe.
The Magnification slider allows you to increase and decrease the magnification effect.
The Loupe Shape control allows to select between a circular loupe or a square loupe.
The Loupe Theme allows to select between a Light colored Loupe or Dark colored Loupe.
Dimensions
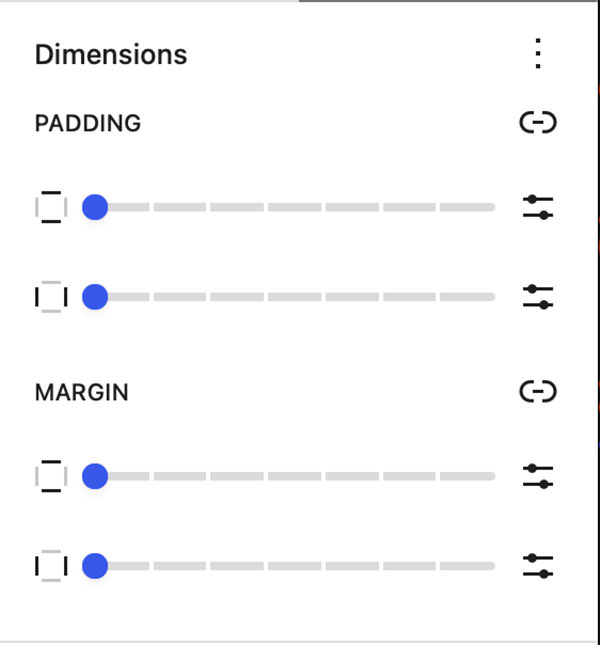
The Dimensions panel features the standard WordPress controls for Padding & Margin.
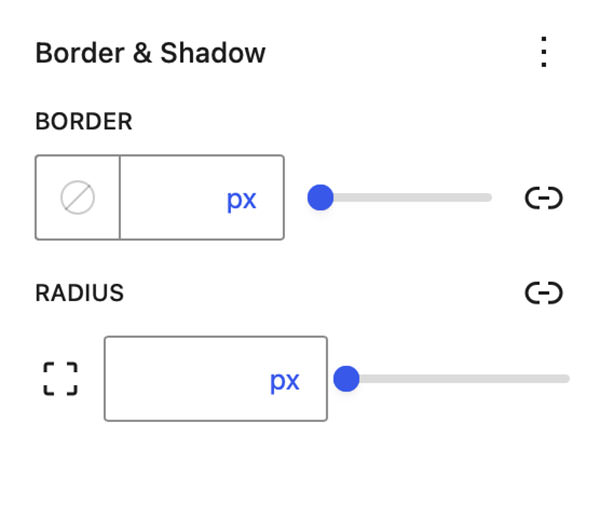
Border & Shadow
The Border & Shadow panel features the standard WordPress controls for Border, Radius, and Shadow.
Page/Post Settings
Starting with FolioBlocks 1.4, several controls that were previously located in the block’s Advanced settings have been moved to a dedicated FolioBlocks Page Settings panel in the Page/Post sidebar.
These features operate at the page level rather than the individual block level, so moving them out of the block settings creates a more intuitive editing experience and prevents the same feature from being enabled multiple times when a page contains several FolioBlocks blocks.
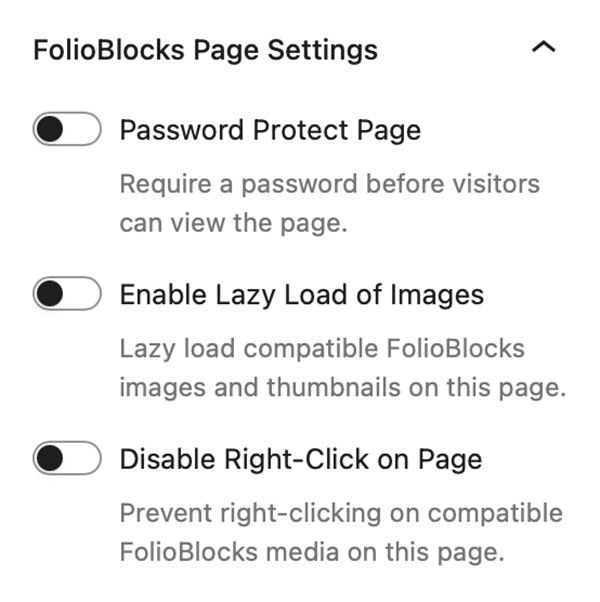
The FolioBlocks Page Settings panel is automatically added to the Page or Post sidebar whenever a FolioBlocks block is inserted into the WordPress editor. From this central location, you can configure settings that apply across the entire page, including the following features:
Password Protect Page
Requires a password before visitors can view the page.
Disable Right-Click on Page
Attempts to disable right-click to discourage casual image downloads.
Note: This makes it harder for casual users to save images, but it’s not foolproof — advanced users can still access media via the browser’s developer tools or view source.
Enable Lazy-Load of Images
When active, images load as the user scrolls, improving initial page load speed.
Example of the Loupe Block

Tips for Better Results
To get the most from the Loupe Block:
- Use high-resolution images
- Avoid heavily compressed files
- Choose subjects with visible detail
- Keep the image large enough for comfortable interaction
- Use moderate zoom levels for the most natural experience
The more detail available in the source image, the more impressive the loupe effect becomes.
Final Result
The Loupe Block adds an interactive layer to your images by allowing visitors to inspect details without leaving the page.
Whether you’re showcasing photography, artwork, products, or educational content, the Loupe Block creates a more engaging viewing experience while helping visitors appreciate the finer details of your images.
With customizable zoom controls, flexible styling options, and seamless integration with the WordPress Block Editor, it’s an easy way to add professional image inspection tools to your website.
Get Started
Ready to build your first Loupe Block? Download FolioBlocks for free or upgrade to Pro for advanced features like filtering, downloads, and WooCommerce integration.
Get FolioBlocks and start creating stunning, responsive galleries in the WordPress Block Editor today.