
Updated: August 13th, 2026 for FolioBlocks Version 1.5 running on WordPress 7.0 or higher
Note: This article focuses on the Professional (Pro) version of FolioBlocks. Some of the features described here may not be available in the free version.
A client proofing gallery gives photographers and creative studios a clear way to collect image feedback without sending clients to a separate platform. With the FolioBlocks Proofing Gallery Block, you can create a private gallery directly inside the WordPress Block Editor where clients can review images, heart favorites, add colored flags, leave comments, and submit their selections.
This tutorial walks through how to build a client proofing gallery in WordPress, protect it with a gallery password, choose a layout, add images, enable proofing options, style the gallery, and review submitted selections from the WordPress admin.
Table of Contents
What Is The Proofing Gallery Block?
The Proofing Gallery Block is a FolioBlocks block for creating private client review galleries in WordPress. It wraps a Grid, Masonry, or Justified gallery layout with proofing tools so clients can mark favorites, organize images with flags, add comments, and submit feedback.
It is ideal for photographers, agencies, and studios that need a simple proofing workflow for portraits, weddings, commercial shoots, editorial work, products, client projects, and image delivery. Instead of managing proofing on a separate service, the Proofing Gallery Block keeps the gallery, client feedback, and submitted selections inside your WordPress site.
How to Add the Proofing Gallery Block
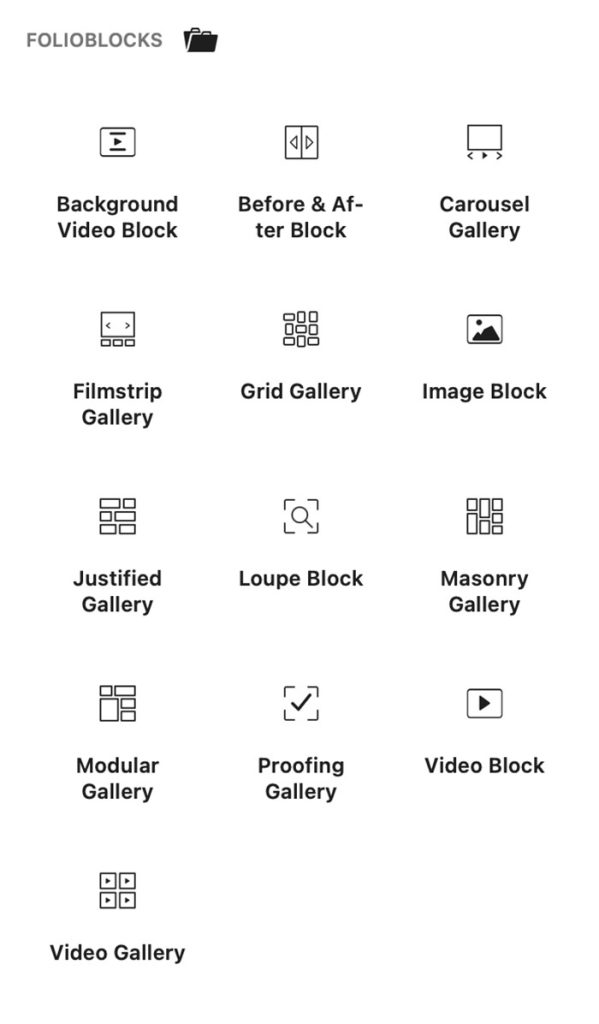
Insert the Block
In the WordPress Block Editor, click the ➕ (Add Block) button at the top left of the screen and search for “Proofing Gallery.” You’ll find it under the FolioBlocks section.
Another option is to type / followed by the block name, Proofing Gallery, directly inside the editor canvas.
Add Client Details and Gallery Password
With the block added into the editor you will be presented with a placeholder that will guide you through the setup process.
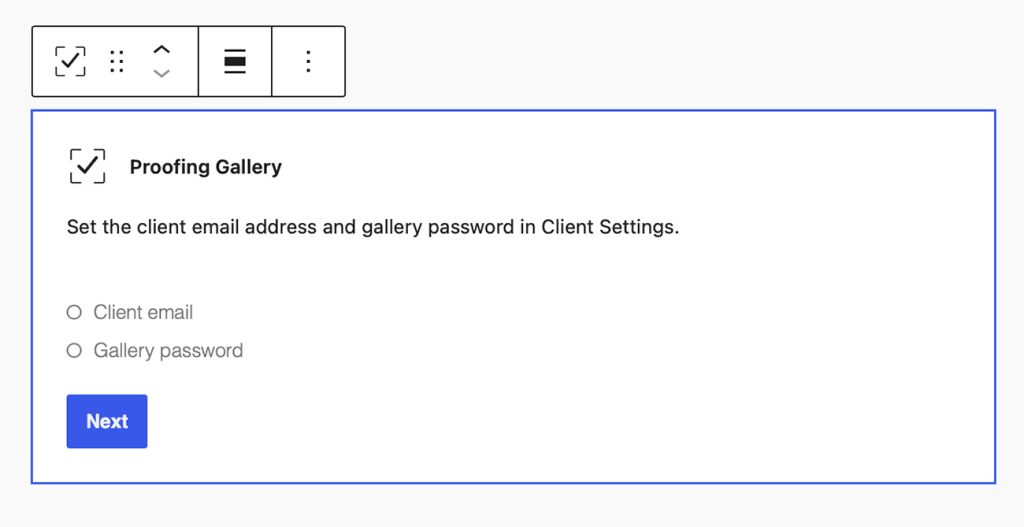
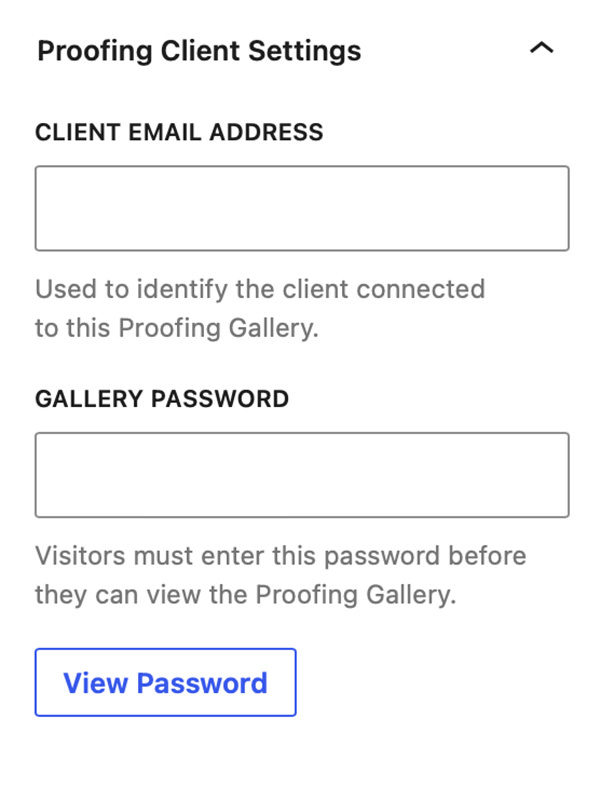
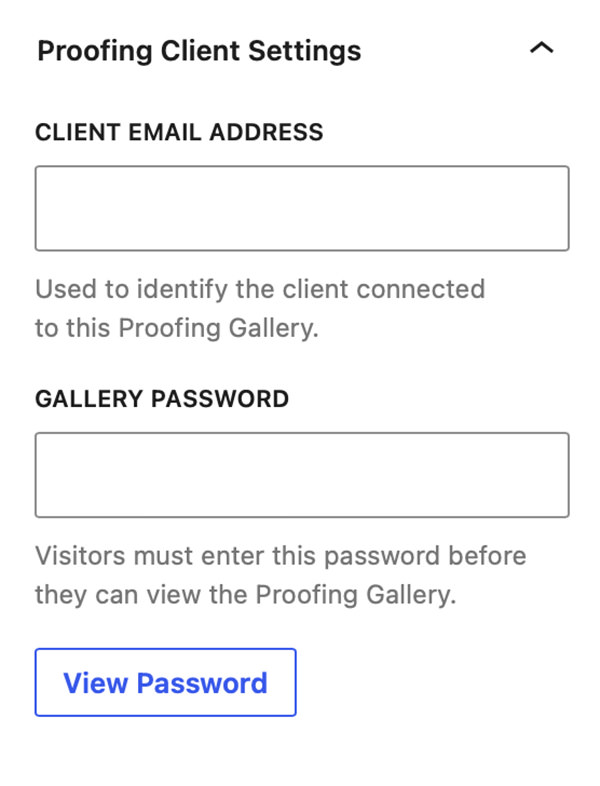
The first step is to add the client’s email address and to set a password for the gallery. This is done from the Proofing Gallery Block’s settings panel on the right hand side of your screen inside of the Proofing Client Settings panel.
Choose a Gallery Layout
Once you have entered the client’s email address and set a password for the gallery, the next screen prompts you to select a Gallery Type, as shown below.
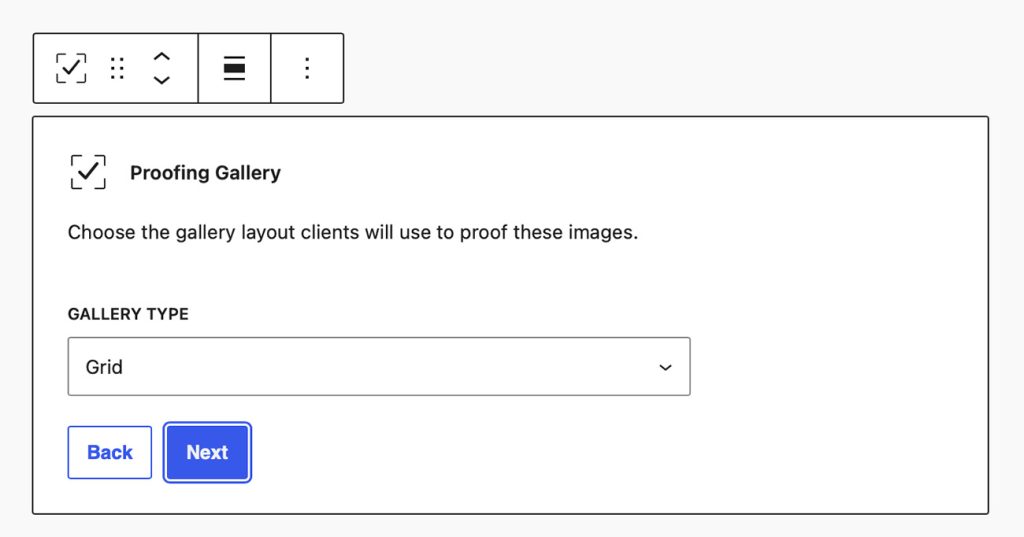
You can choose between three different gallery types: Grid, Justified, & Masonry.
Upload or Select Images
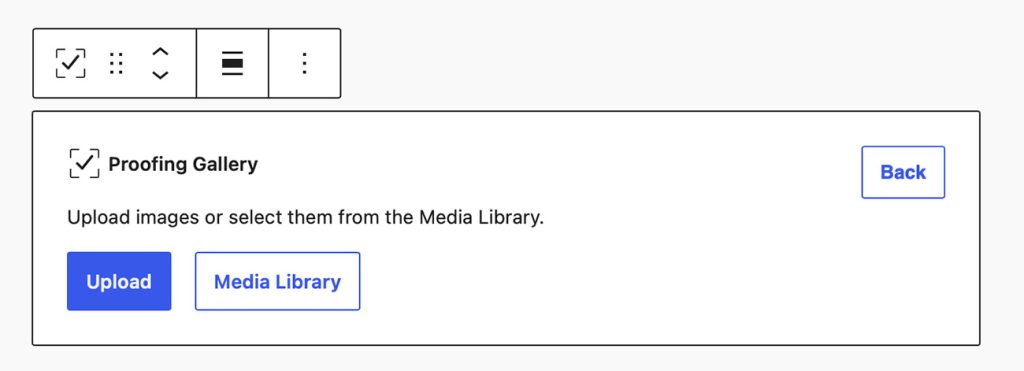
Once you have selected the Gallery Type you will be prompted to Upload your images or select them from the WordPress Media Library.
Understanding the Gallery Structure
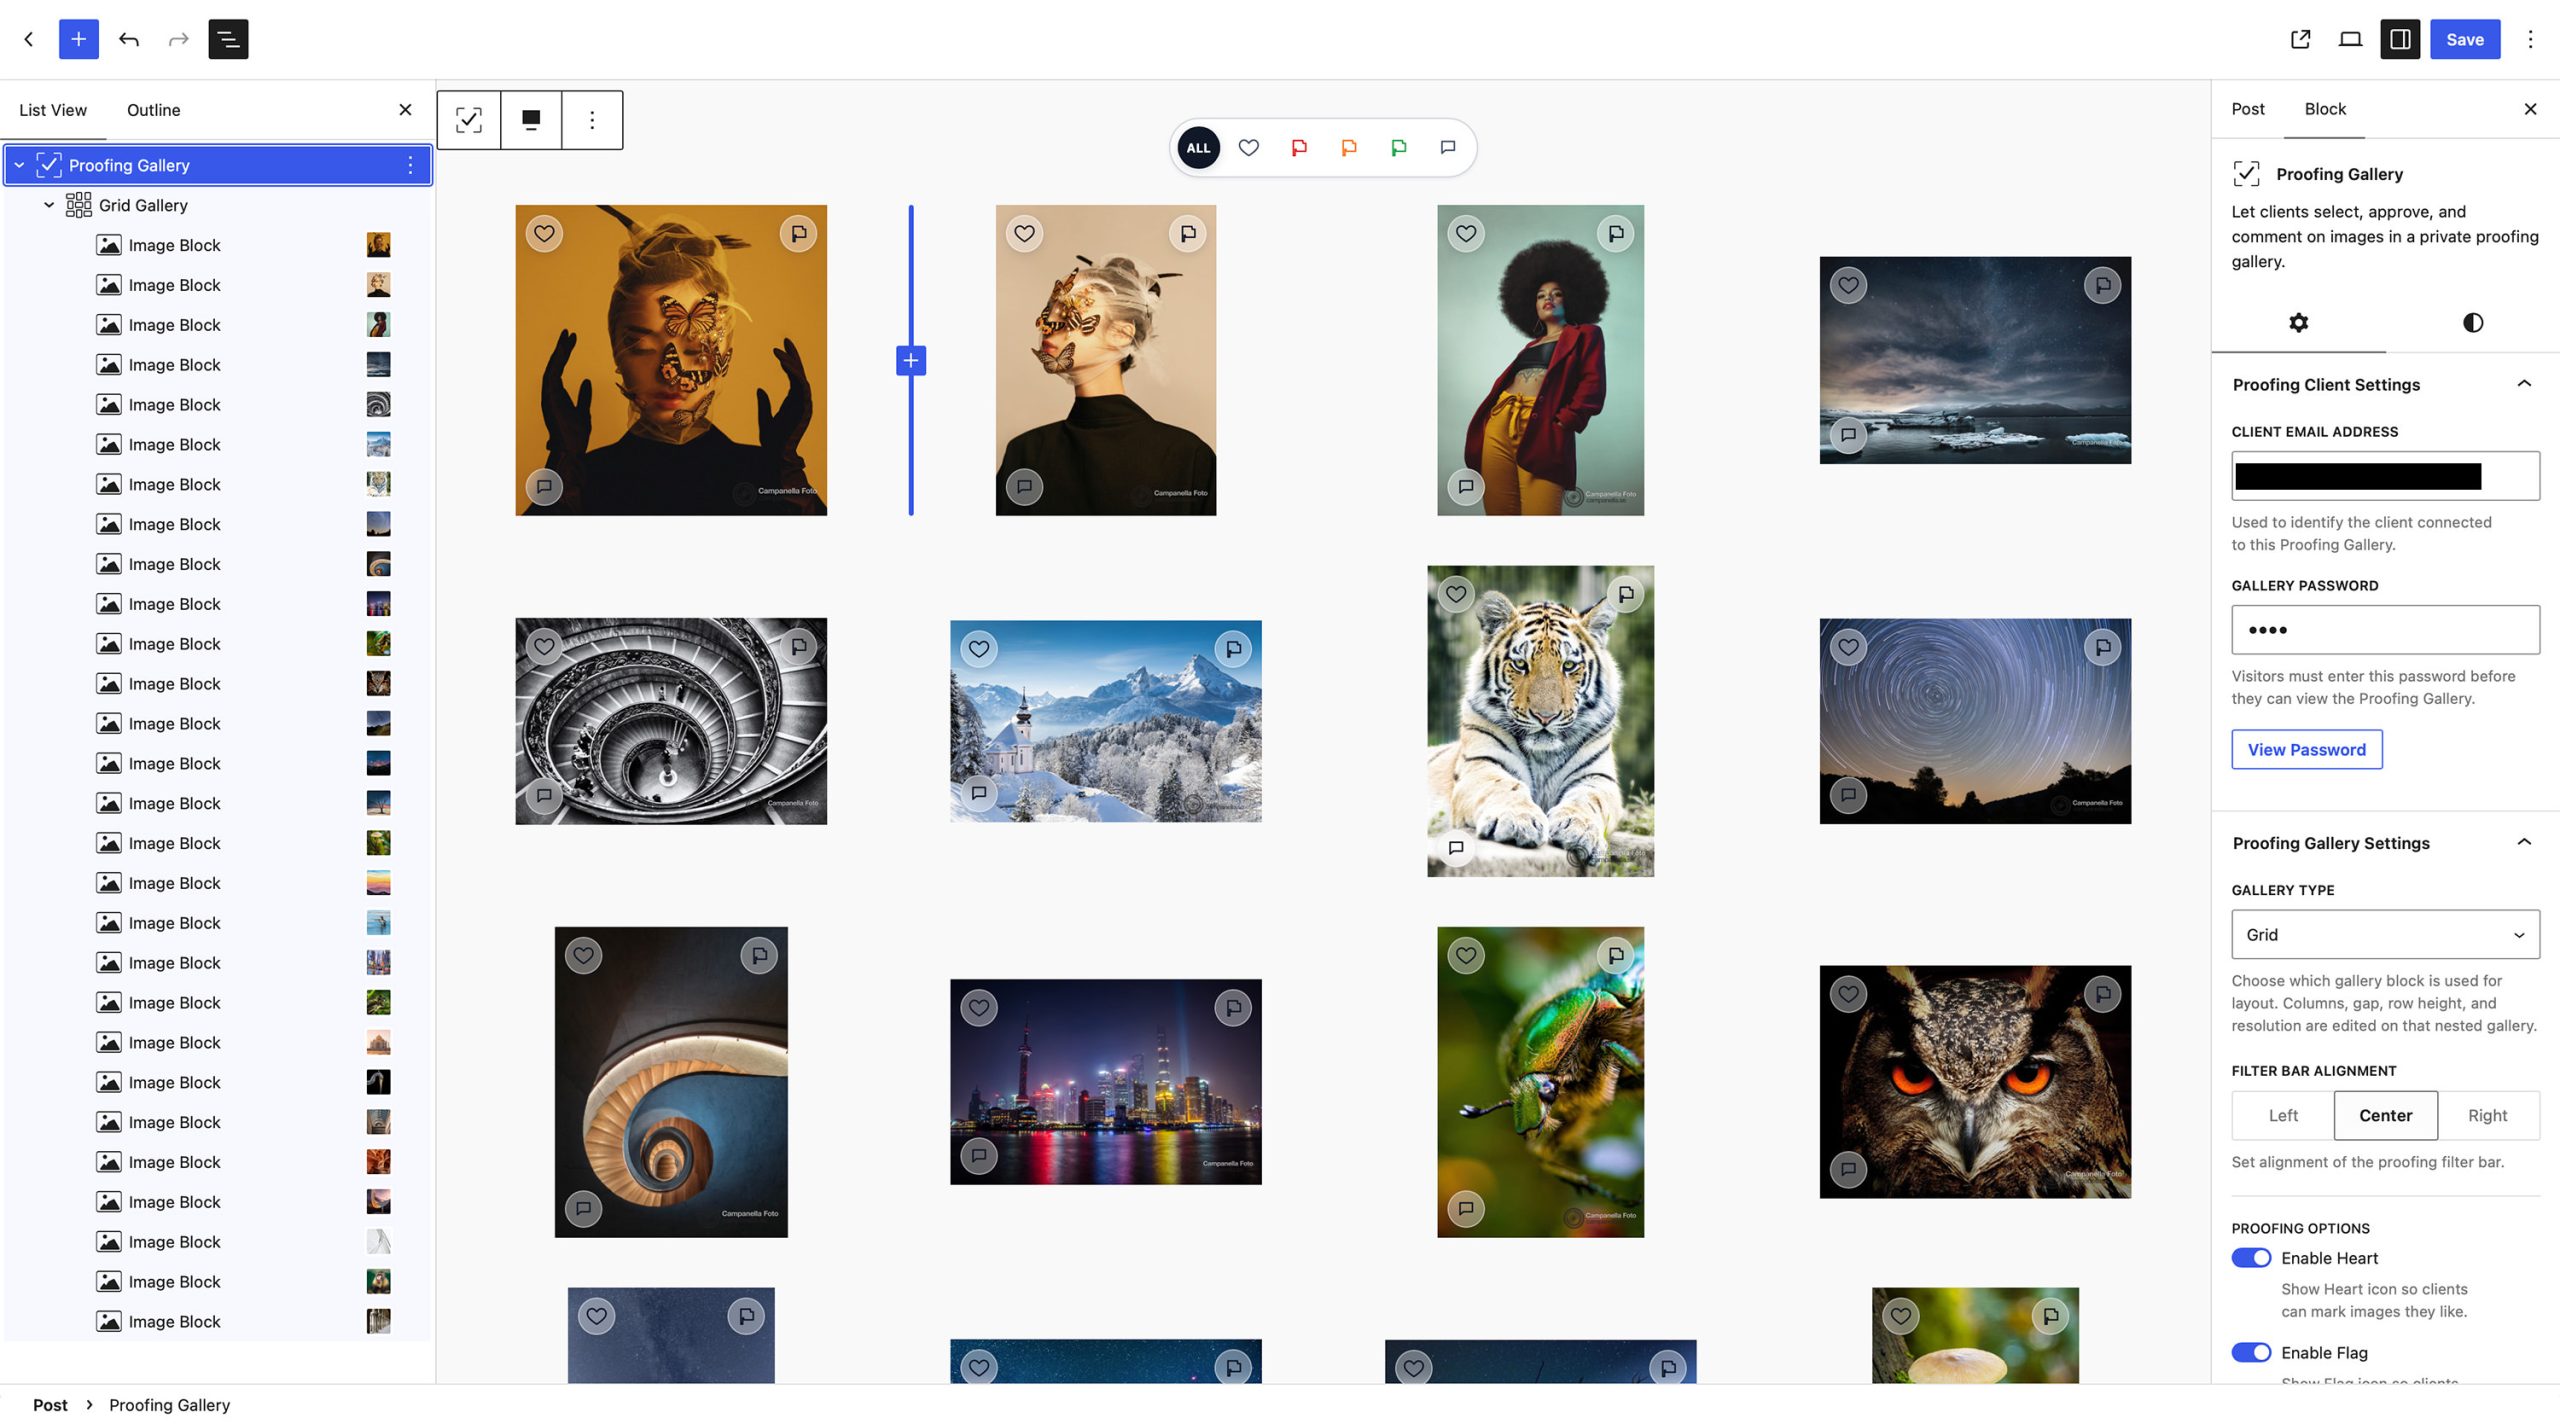
The Proofing Gallery Block uses nested inner blocks. The outermost block is the Proofing Gallery Block, and its settings control all proofing-related features.
Nested inside it is the gallery block: Grid Gallery, Justified Gallery, or Masonry Gallery, depending on what you choose. This gallery block controls the layout and appearance settings, such as resolution, columns, gaps, and row height, just as it would when used outside of a Proofing Gallery.
When a gallery is nested inside a Proofing Gallery, some gallery features are intentionally turned off, including Gallery Click Settings and Gallery Hover Settings. This keeps the experience focused on the proofing tools, such as image selections, flags, and comments.
The front-end Lightbox remains enabled by default, so clients can click an image to view it larger while reviewing the gallery. Proofing tools such as hearts, flags, and comments remain available from the gallery thumbnails.
Finally, the individual Image Blocks containing your images are nested inside the gallery block.
Proofing Client Settings
The Proofing Client Settings panel provides you with controls to set Client Email Address and Gallery Password.
You can change and update these settings at anytime while setting up the gallery.
Proofing Gallery Settings
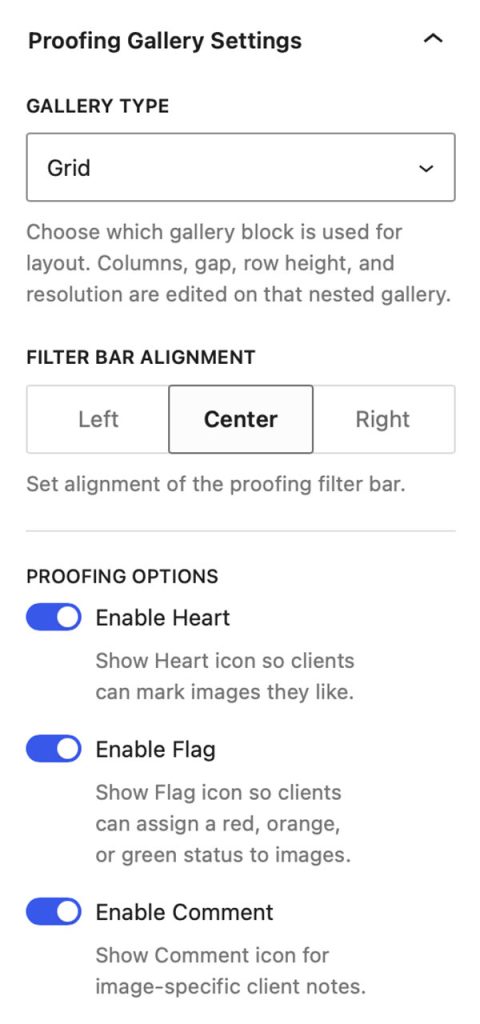
Gallery Type
The Gallery Type control allows you to select the type of gallery you use inside of the Proofing Gallery. You can choose between: Grid, Justified, and Masonry.
Filter Bar Alignment
This sets the alignment of the Filter Bar that appears above the gallery. You can choose from: Left, Center, Right.
Proofing Options
The controls in Proofing Options allow you to disable any of the proofing tools. The proofing tools available in the gallery are:
Hearts – Useful for large galleries, giving clients a quick way to mark the images they like. You can then use the filter bar to show only hearted images.
Flags – Provide a deeper level of feedback by letting clients assign Red (Rejected), Orange (Maybe), or Green (Approved) flags.
Comments – Allow clients to leave notes or instructions on individual images. This is useful when a client wants to request a different crop, retouching, or another image-specific change.
Proofing Save & Submit Settings
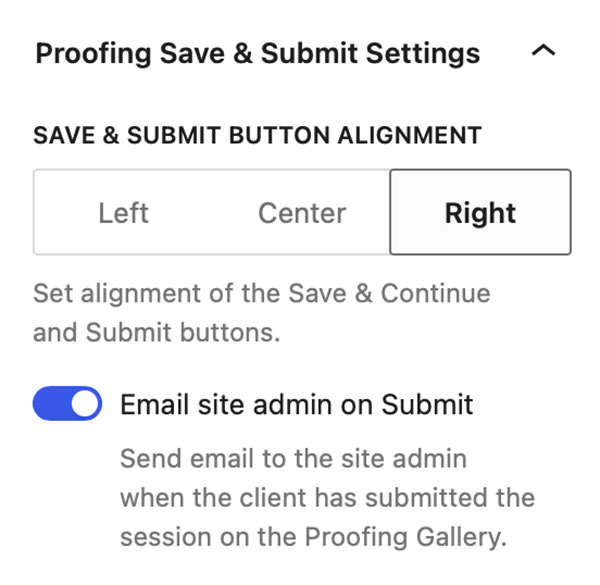
Save & Submit Button Alignment
This lets you set the alignment of the Save and Submit buttons that appear beneath the Proofing Gallery.
Email site admin on Submit
When enabled, FolioBlocks sends an email notification to the site admin when the client submits their proofing session.
Watermark Overlay
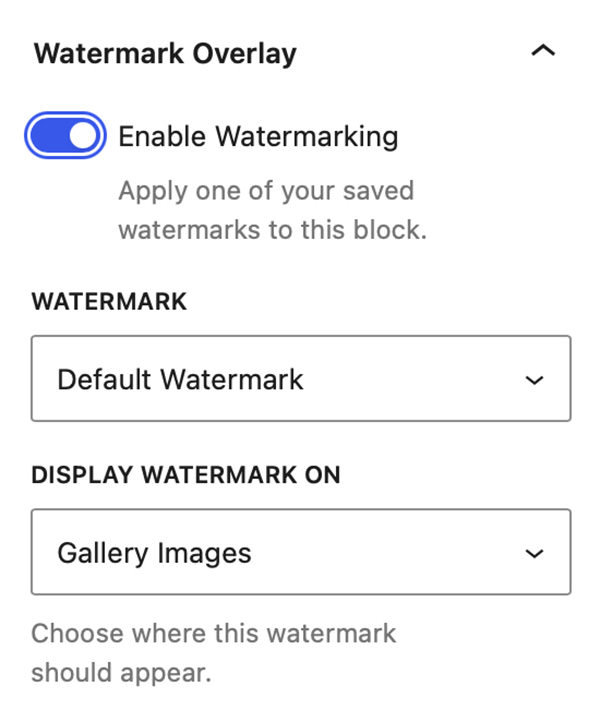
The Watermark Overlay panel lets you set all the settings for watermark overlays.
Enable Watermarking
This toggle enables Watermark Overlays for the gallery. You need to create at least one saved watermark in FolioBlocks → Global Settings before watermarking can be enabled. If no saved watermarks exist, the panel will show a notice asking you to create one first.
Watermark
The Watermark dropdown lets you select the watermark to use on the gallery. It will default to the Default Watermark but if you have multiple watermarks saved you can select one of the others.
Display Watermark On
This dropdown lets you select where you will display the watermark. You can choose from:
- Gallery Images
- Lightbox
- Gallery Images + Lightbox
Styling the Proofing Gallery
All of the styling controls for the Proofing Gallery Block are contained within its Styles panel.
Background & Dimensions
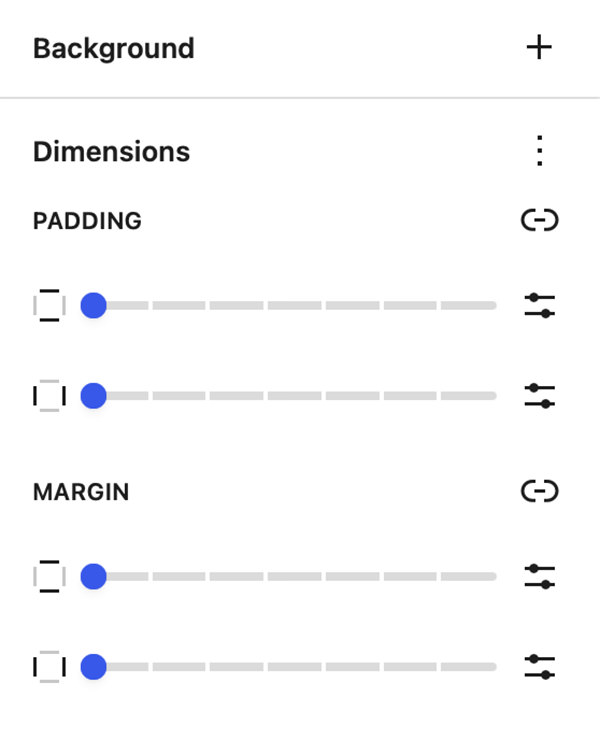
The Background section lets you set a background on the Proofing Gallery Block, you can choose between using a solid color or a gradient.
The Dimensions settings allow you to set Margin and or padding around the Proofing Gallery Block.
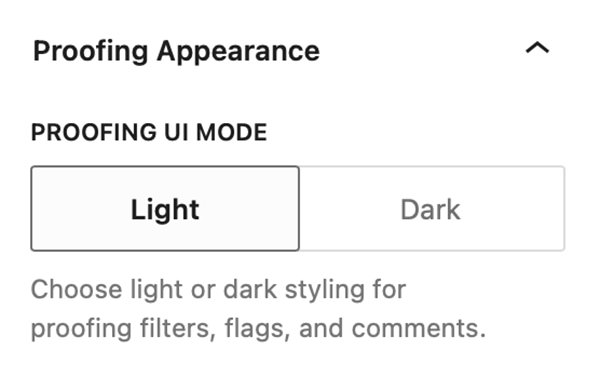
Proofing Appearance
The Proofing Appearance panel lets you choose Light or Dark mode for the Proofing Gallery UI. This includes the filter bar and the popovers that open when a client clicks Flags or Comments.
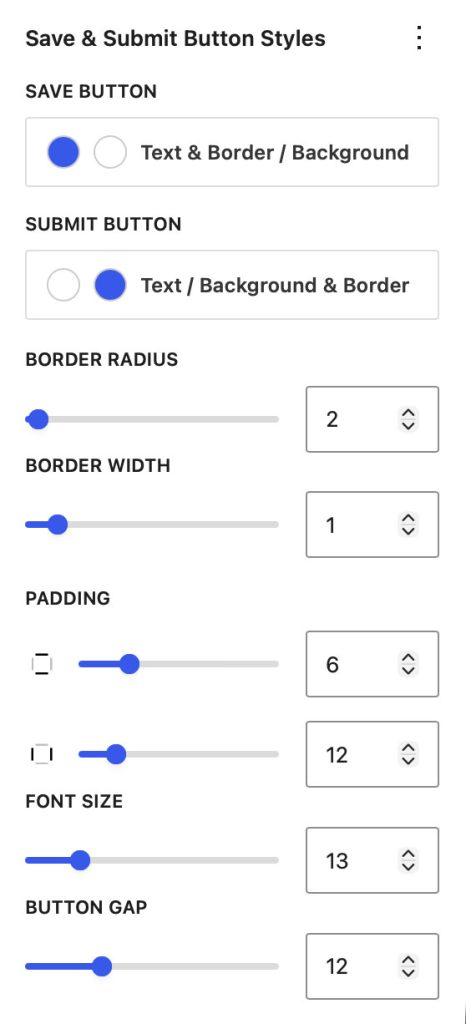
Save & Submit Button Styles
The Save & Submit Button Styles lets you set styles for the buttons that appear beneath the Proofing Gallery. Here you can set the following settings:
- Text & Border / Background Color – Button 1
- Text / Background & Border Color – Button 2
- Border Radius
- Border Width
- Padding (Top/Bottom & Left/Right)
- Font Size
- Button Gap
Page/Post Settings
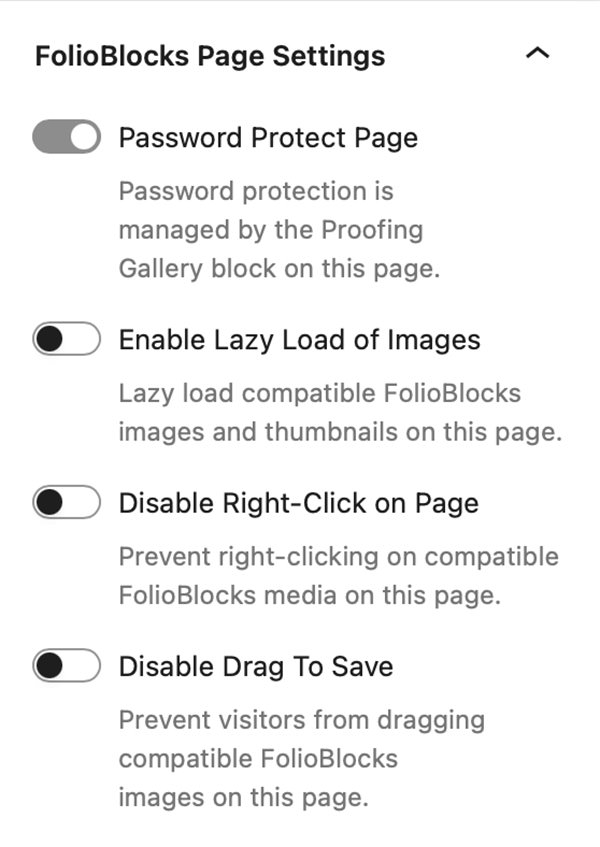
Starting with FolioBlocks 1.4, several controls that were previously located in the block’s Advanced settings have been moved to a dedicated FolioBlocks Page Settings panel in the Page/Post sidebar.
These features operate at the page level rather than the individual block level, so moving them out of the block settings creates a more intuitive editing experience and prevents the same feature from being enabled multiple times when a page contains several FolioBlocks blocks.
The FolioBlocks Page Settings panel is automatically added to the Page or Post sidebar whenever a FolioBlocks block is inserted into the WordPress editor. From this central location, you can configure settings that apply across the entire page, including the following features:
Password Protect Page
Requires a password before visitors can view the page.
Note: This is enabled by default on pages with the Proofing Gallery block and cannot be disabled.
Enable Lazy-Load of Images
When active, images load as the user scrolls, improving initial page load speed.
Disable Right-Click on Page
Attempts to disable right-click to discourage casual image downloads.
Note: This makes it harder for casual users to save images, but it’s not foolproof — advanced users can still access media via the browser’s developer tools or view source.
Disable Drag To Save
Prevents users from dragging images to their desktop in order to save them.
Review Submitted Proofing Sessions
Once you have published your post or page with a Proofing Gallery, avoid editing the page while a client is actively proofing. Updating the page during an active session could interrupt the client’s work or affect saved selections.
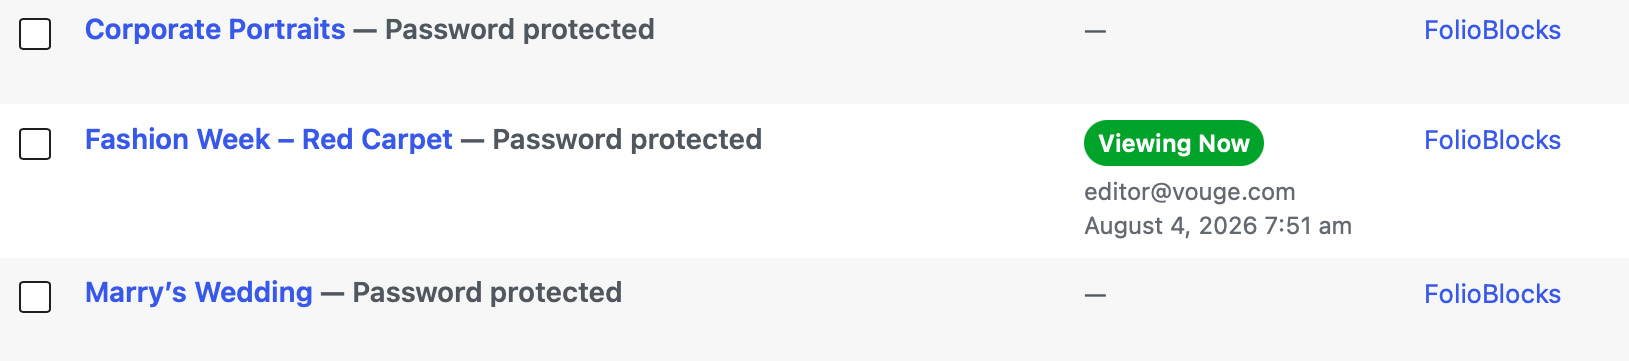
The Post/Page view is given a new Proofing section that will show you a badge when the client has begun interacting with the Proofing Gallery. There are the following badge values:
- Viewing Now – Client is actively viewing/interacting, presence is active, and last seen is within the active window.
- Viewing – A session has started/viewed, but the client is not currently active.
- In Progress – Client has saved or made progress but has not submitted.
- Submitted – Client submitted the proofing session.
- Window Closed – Client opened the gallery but closed/left before saving progress or submitting.
There is also a dedicated Proofing Sessions section located at FolioBlocks → Proofing Sessions in the WordPress admin dashboard. This page is where proofing sessions are stored for review.
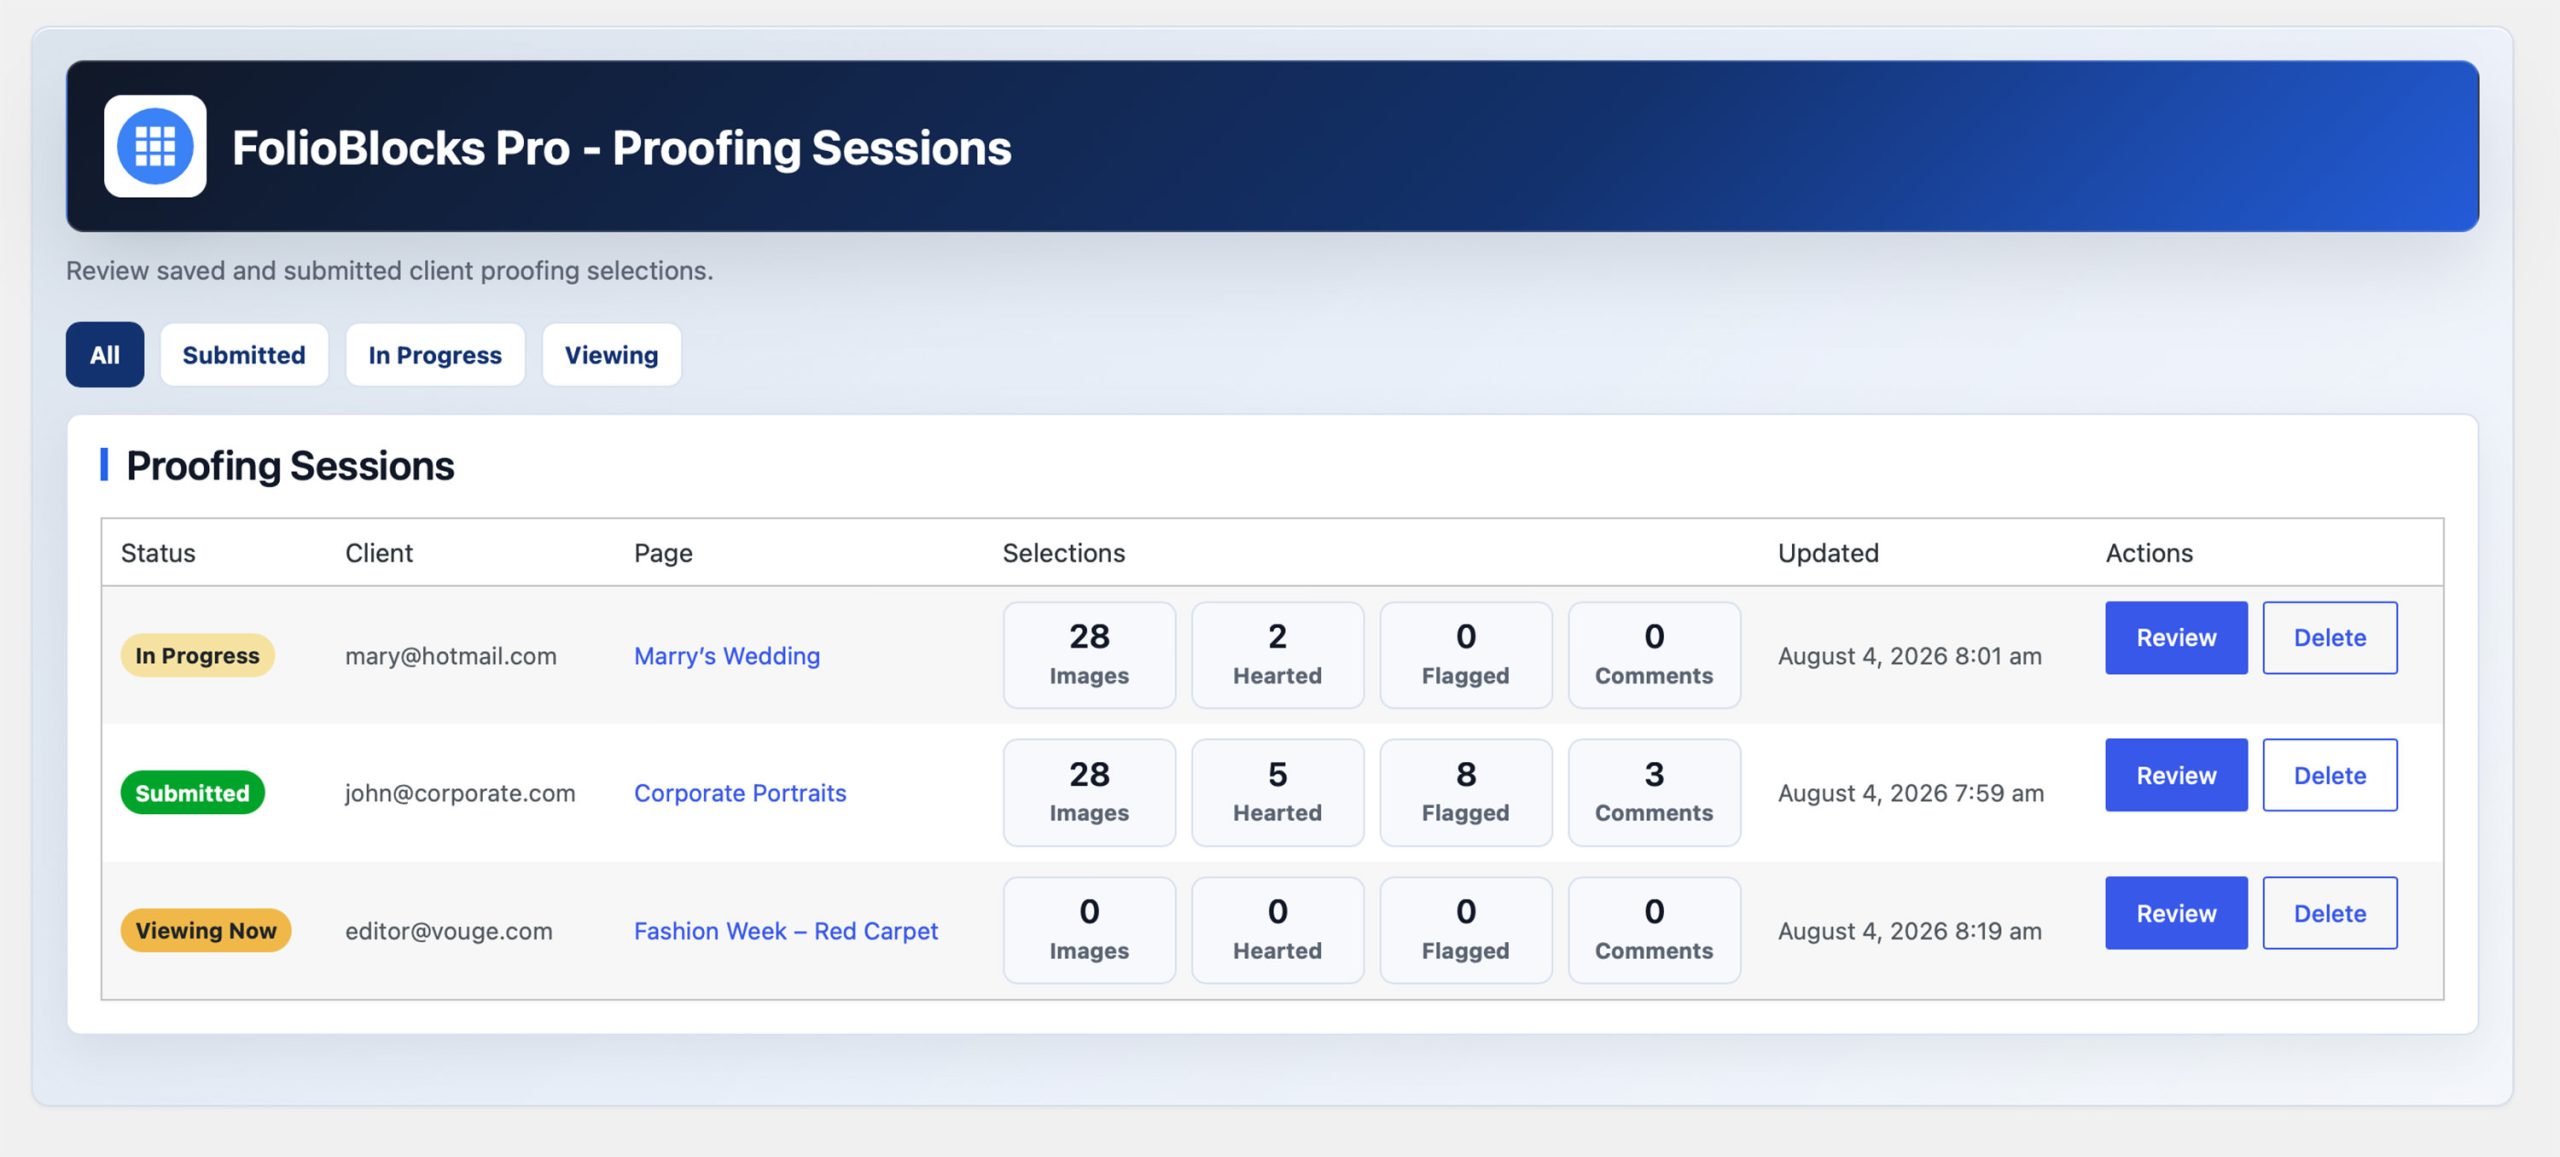
You can see the progress clients are making and review the reports. The Proofing reports will display all the images in the gallery with their original filename and with the Hearts, Flags, and Comments left by the client. Reports have an option to be exported as PDFs making it simple for you to save them and begin your work preparing the final delivery for the client.
Example Proofing Gallery
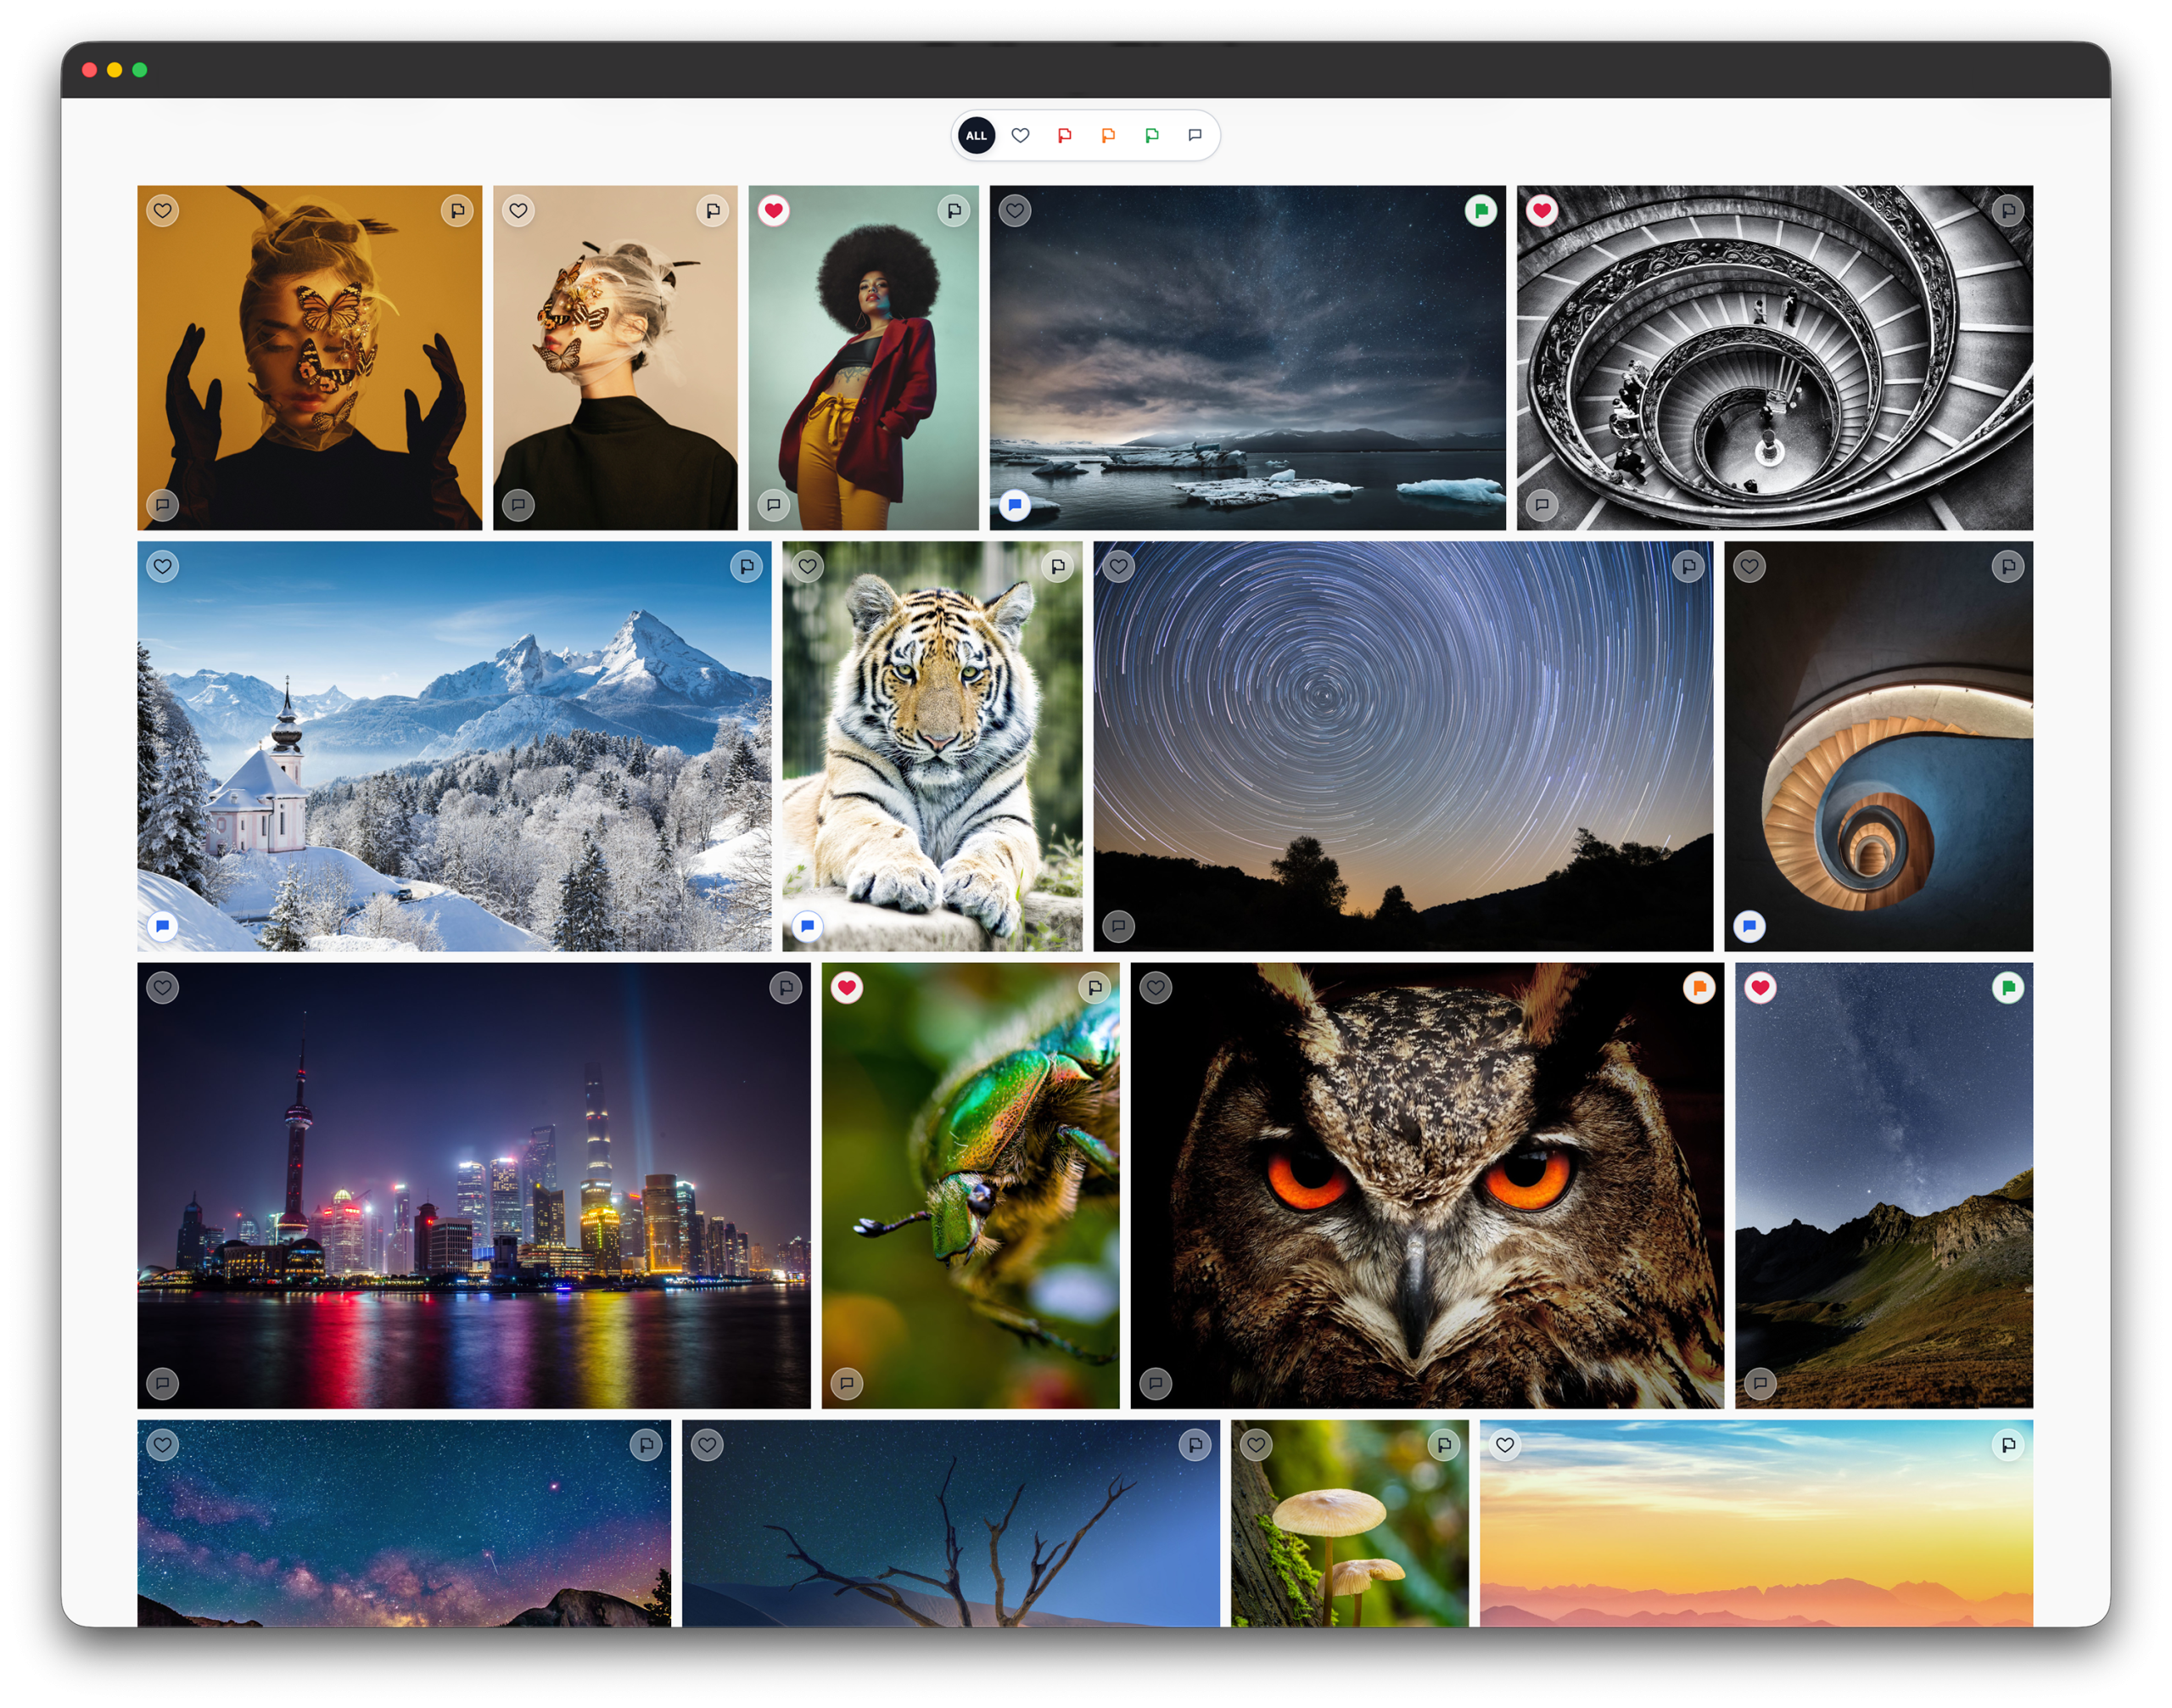
Since the Proofing Gallery is private by default, we have included a screenshot below showing what it can look like on the front end of a website. To try a live demo, click the button below and use the password: demo2026
Frequently Asked Questions (FAQ)
Yes. Proofing galleries are private by default and are protected with their own gallery password.
Yes. Clients can leave comments on individual images so feedback stays connected to the right photo.
Yes. Clients can heart favorite images and use colored flags for more detailed selections.
Proofing Gallery supports Grid, Masonry, and Justified layouts.
Submitted proofing sessions can be reviewed from the FolioBlocks Proofing Sessions area in the WordPress admin.
The Proofing Gallery Block is included with the FolioBlocks Business and Agency plans.
The Proofing Gallery Block requires WordPress 6.5 or higher. Some newer FolioBlocks features require WordPress 7.0 or higher, so for the best experience we recommend keeping WordPress updated to the latest version, especially when using modern block themes and newer editor features.
Get Started
Ready to create your first Proofing gallery? Get FolioBlocks Pro (Business or Agency) and start building modern galleries in the WordPress Block Editor today.